
Make a Photo Dance with AI: Beginner Tutorial (Do's and Don'ts)
A step-by-step beginner tutorial for making a photo dance with AI: photo and reference video checklists, upload requirements, do's and don'ts, and quick fixes for common failures.
 Animaker Dev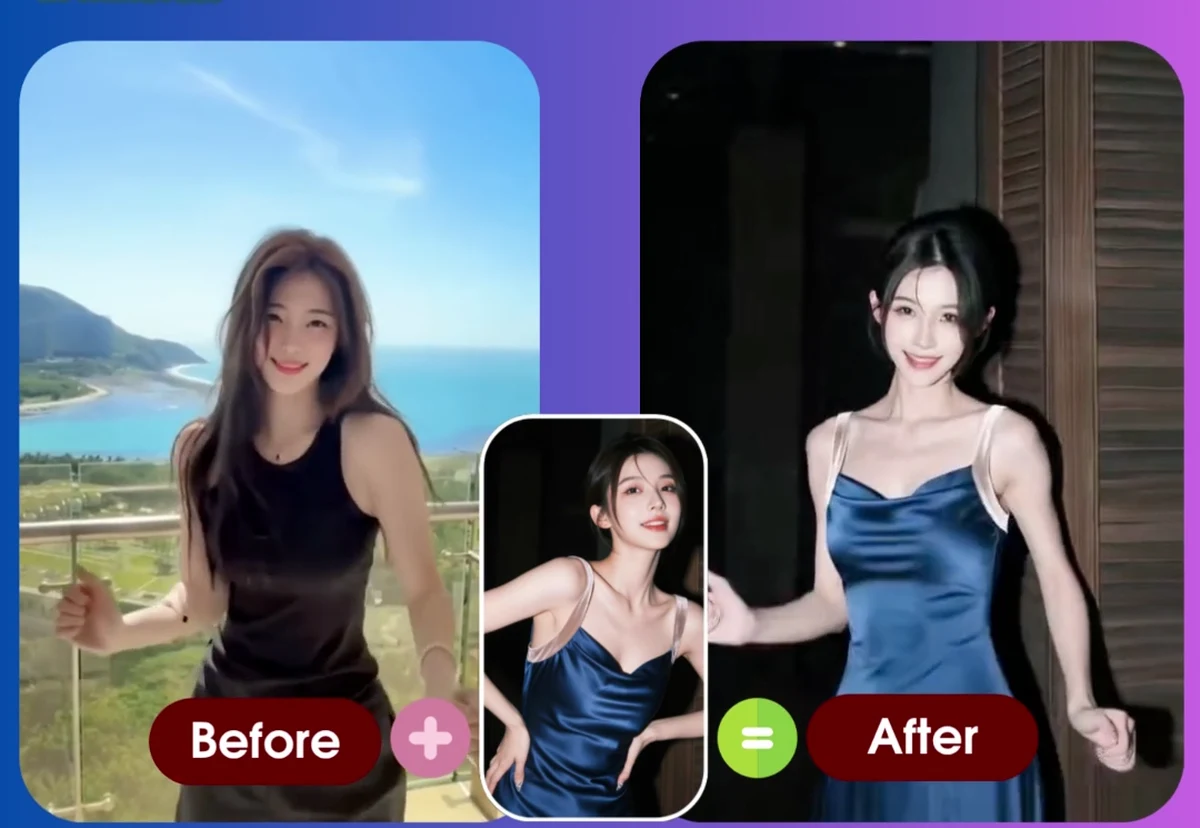
Making a photo dance with AI takes two inputs: a clear photo and a reference video that shows the movement. The AI maps the motion from the video onto the person in the photo. When the result looks bad, it is almost always one of the two inputs — not the tool.
This tutorial shows you exactly what to use, what to avoid, and how to fix the result when something looks off. Follow the two checklists and your first generation will already be close to what you pictured.
What You Need Before You Start
| Input | Format | Size limit | Length |
|---|---|---|---|
| Photo | JPG, PNG, or WebP | Up to 20 MB | — |
| Reference video | MP4, MOV, or WebM | Up to 500 MB | Up to 60 seconds |
Keep both files on your computer before you start. A 10 to 30 second reference video is the sweet spot for a first test.
Step 1: Choose the Right Photo
The photo defines the person in your video. The clearer the photo, the more stable the result.
| Do | Avoid |
|---|---|
| Use a front-facing portrait with the whole face visible | Group photos — the AI can only animate one person |
| Use even, natural lighting on the face | Dark photos, strong shadows, or heavy filters |
| Keep the face unobstructed (no sunglasses, masks, or hair covering it) | Faces at steep angles or turned away |
| Show the hands if your dance uses hand movements | Cropping the hands out when the motion needs them |
| Use a full-body photo for leg or full-body movements | Expecting leg motion from a headshot |
| Use a plain, simple background | Busy backgrounds with objects in front of the person |
One rule to remember: if you cannot see a body part clearly in the photo, the AI cannot move it well.
Step 2: Choose the Right Reference Video
The reference video is the movement instruction. It does not need to be cinematic — it needs to be readable.
| Do | Avoid |
|---|---|
| Use a video with exactly one person | Videos with two or more people, even in the background |
| Keep the camera still (tripod, or a phone resting on something) | Handheld footage that shakes or drifts |
| Show the complete action from start to finish | Actions cropped by the edge of the frame |
| Use even lighting and a simple background | Backlight, stage strobes, or heavy motion blur |
| Keep it 10–30 seconds for your first test | A full 60-second choreography before you know the workflow |
Good sources: your own phone recording of a simple move, a friend demonstrating a gesture, or a clean clip you have the rights to use.
Step 3: Upload and Generate
- Open the create page and upload your photo.
- Upload the reference video.
- Start the generation and wait — most tasks finish in about 10 to 15 minutes.
- Preview the result and download the MP4.
If the upload itself fails, it is almost always a spec issue:
| Error | Fix |
|---|---|
| Image rejected or "too large" | Compress the photo under 20 MB, or export as JPG |
| Video rejected or "too large" | Trim the clip and export under 500 MB |
| Video rejected for length | Cut the reference to 60 seconds or less |
| Wrong format | Convert to MP4, MOV, or WebM |
If a generation task fails, the consumed credit is refunded automatically.
Step 4: Check the Result — and Fix the Right Input
When the output is not what you wanted, change the input that caused it. Changing the wrong one wastes a generation.
| What you see | The problem is in | Fix |
|---|---|---|
| Face looks distorted or unlike the person | Photo | Use a sharper, front-facing photo with better lighting |
| Arms or legs blurry or fused | Reference video | Pick a clip without overlapping limbs or occlusion |
| The action does not match | Reference video | Make sure the full action is visible and uncut |
| Background flickers or warps | Photo | Use a plainer background with the subject clearly separated |
| The whole video looks unstable | Both | Restart with the simplest possible inputs: one static portrait, one 15-second clip |
A good habit: keep every photo and video that produces a good result. They become your reusable starting point for the next video.
FAQ
What kind of photo works best for making a photo dance?
A clear, front-facing portrait with even lighting and an unobstructed face — JPG, PNG, or WebP up to 20 MB. If the dance uses hand movements, include the hands.
How long should the reference video be?
Up to 60 seconds, but 10 to 30 seconds is ideal for a first test. One subject, stable camera, complete action.
Why does my AI dance video look distorted?
Usually the inputs: a blurry or blocked face, a reference with overlapping limbs or motion blur, or a shaky camera. Fix the input before regenerating.
Can I use a group photo or a video with two people?
Not recommended. The AI animates one subject. Generate one video per person instead.
Do I need a full-body photo?
Only when the action involves legs or full-body movement. For gestures and upper-body motion, a chest-up portrait works.
Why was my file rejected?
Most likely the image is over 20 MB, the video is over 500 MB, or the video exceeds 60 seconds. Compress, trim, and use a supported format.
Why was my file rejected when uploading?
The three most common reasons are: the image is over 20 MB, the video is over 500 MB, or the video is longer than 60 seconds. Compress the image, trim the video, and use JPG, PNG, WebP, MP4, MOV, or WebM.
Try It
Pick one portrait and one 15-second reference clip, then make your photo dance with Animaker. For different subjects, try the dedicated flows for baby photo dance, pet photo dance, and old photo dance. To go deeper on motion inputs, read our reference action video tips.
관련 글
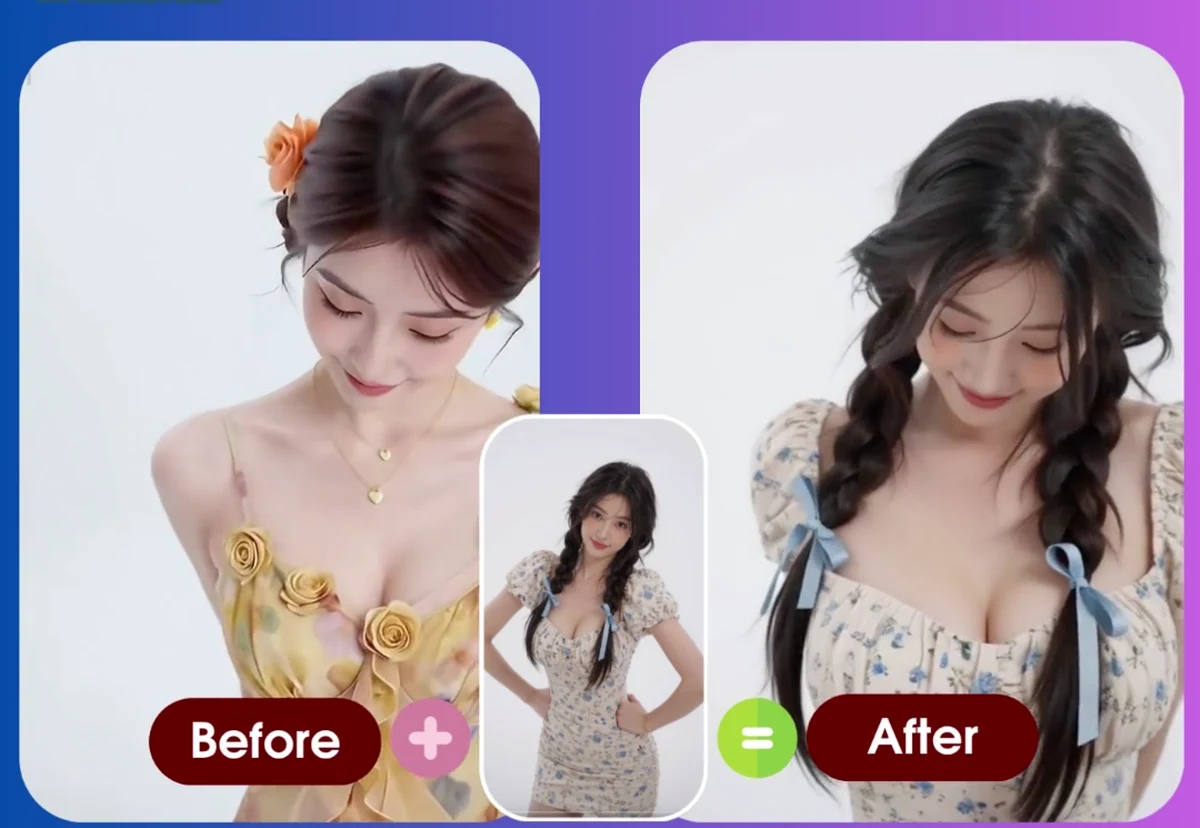
How to Make a Photo Dance with AI: Complete Guide (2026)
Turn any portrait into an AI dance video. Step-by-step tutorial with real examples (old photos, baby photos, pet photos), troubleshooting tips, and before/after results.
Animaker Dev Team
Best AI Dance Video Generators in 2026: 8 Tools Compared
A side-by-side comparison of the leading AI dance video generators — pricing model, free tier, watermark policy, reference-video support, and who each tool is actually for.
Animaker Dev Team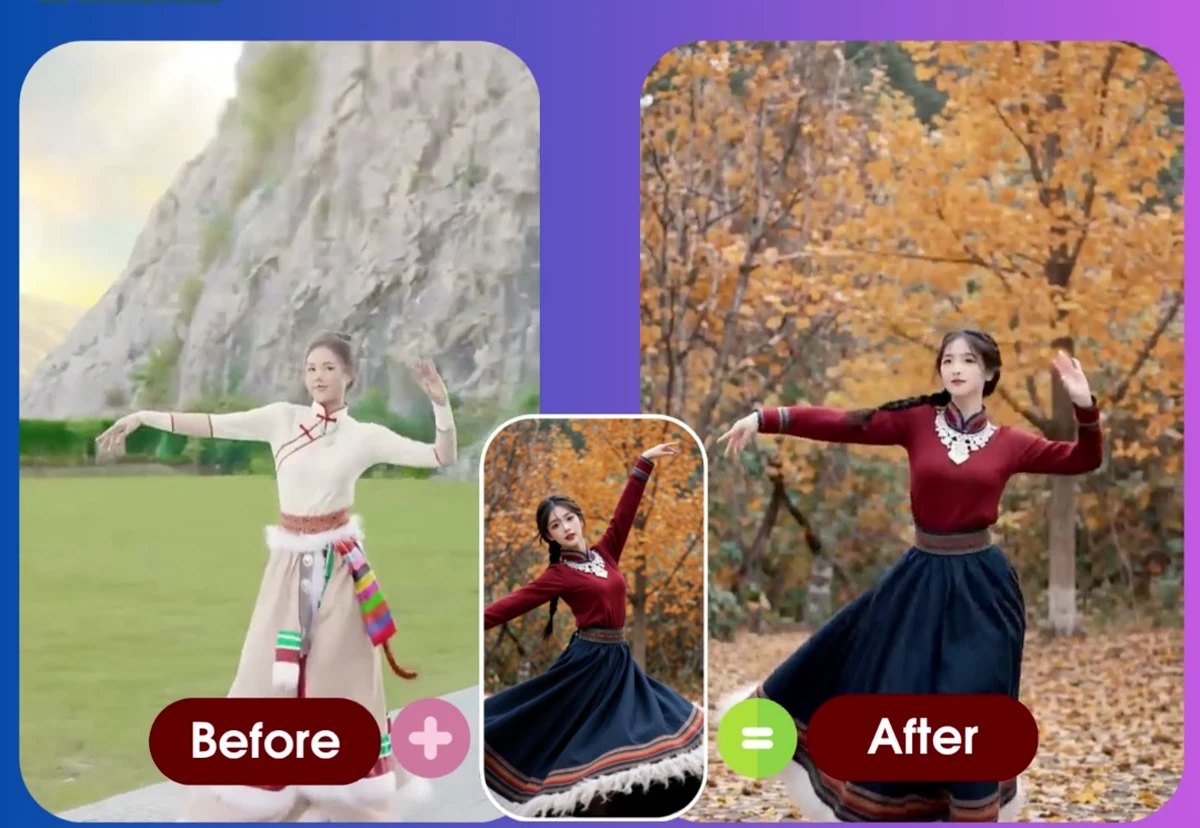
How to Animate an Old Family Photo with AI | Animaker
Learn how to animate an old family photo with AI using a clear portrait and a short motion reference. Practical input tips and fixes for vintage images.
Animaker Dev