
Why AI Video Generation Fails — And How to Get Better Results
Most AI video failures start with the two inputs, not the model. See why photo-to-video tasks fail, why results look distorted, and which uploads fix both.
 Animaker Dev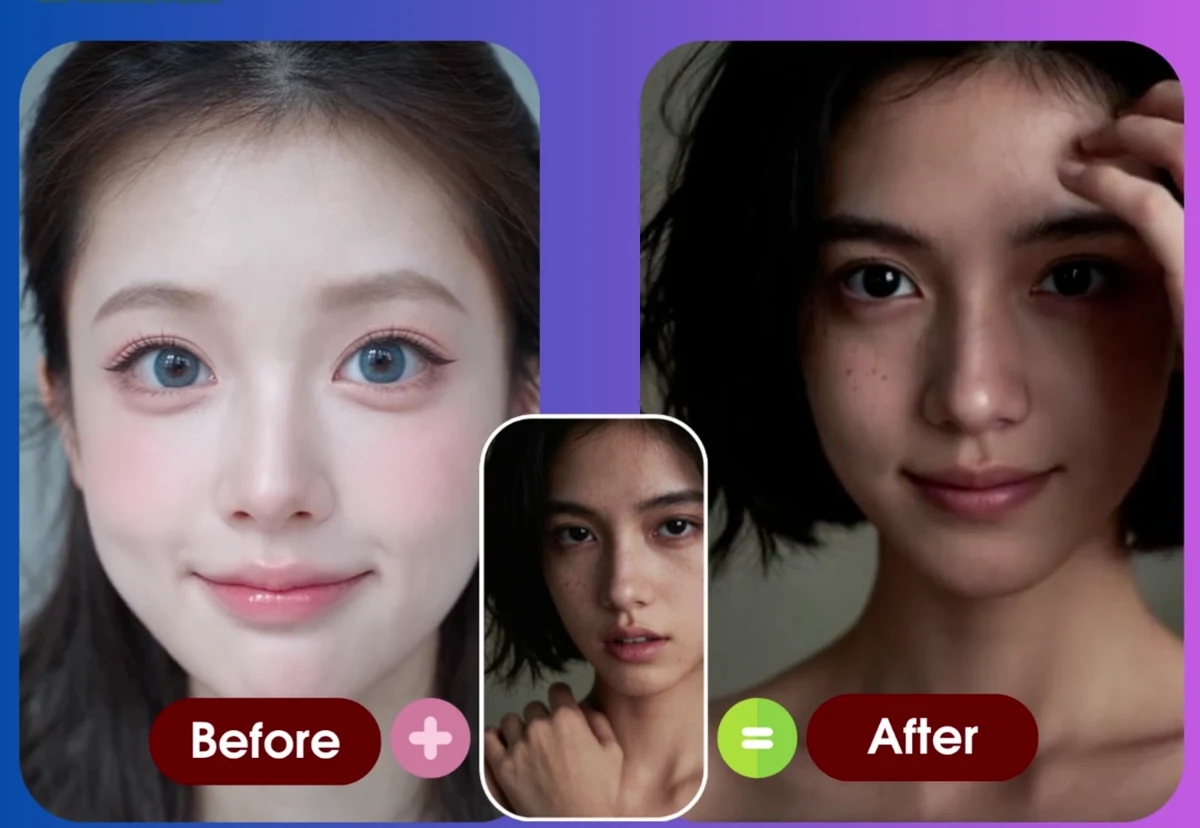
An AI video can disappoint you in two different ways. The task can fail and never produce a file. Or it can finish and look wrong: bending hands, a face that drifts, a clip that is softer than the photo you uploaded.
Both problems usually start in the same place — the two files you upload. If you are in a hurry, the next section is the entire answer; the rest of the article explains why it is true.
The Short Answer
Three rules decide almost every result:
- Your photo supplies the identity. One person, a face clear and large enough to show skin detail, and hands that are empty and inside the frame.
- Your reference video supplies the motion. One performer, a steady camera, 3–10 seconds, and one movement a human can read at a glance.
- Shorter beats bigger. Length, resolution, and motion complexity share one budget, so raise them one at a time.
Two things are not your problem to fix:
- A task that cannot find a free GPU slot keeps retrying on its own, so pressing generate again does not help.
- A failed task returns its credit automatically — you are not charged for a failure.
If one specific result went wrong, the table below points at the likely cause. If you want to understand the mechanism — why hands warp, why faces drift, why long clips get softer — keep reading.
Two Problems, Two Different Fixes
The first step is working out which of these you are looking at, because the fix is different in each case.
| What you see | What usually caused it | Where to look |
|---|---|---|
| The task failed right away, or after waiting in a queue | The GPU queue was full, or the generator could not run the task | Nothing on your side — it is covered below |
| The task failed after a few minutes of processing | The model could not read one of your two inputs | Your photo and your reference video |
| The video finished but the body is distorted | The motion was hard to read, or the photo does not match the action | Reference video first, then photo |
| The video finished but looks soft or blurry | Resolution, clip length, and motion complexity share one budget | Shorten the clip first |
Why Tasks Fail
The generation queue is full — this one is not your fault
Every generation holds a GPU slot for as long as it runs, usually a few minutes. That hardware is shared between everyone who is generating at that moment, and when demand is high the slots run out.
When that happens, your task is not thrown away. It waits in a queue and is submitted again automatically for up to 45 minutes, and the upload you already finished is reused — you do not need to upload your files a second time.
What you should not do is press generate again. A new attempt creates a second task with the same inputs; it does not move you ahead of anyone, and it competes with the task that is already waiting for you.
The photo does not contain a readable person
The first thing the model does is find a person in your photo: a face, and the joints of a body. Everything after that depends on it. This step fails most often when:
- The face is tiny in the frame. A full-body photo taken from far away can leave the face only a few dozen pixels wide, which is not enough to preserve a likeness.
- The face is turned away, covered, or in shadow. Sunglasses, masks, hands over the face, and heavy shadows all remove the information the model needs.
- There is more than one person. The model has no way to know which person should be animated, so it may pick the wrong subject or blend two people together.
- Heavy filters have replaced the face with a painted or illustrated one. Stylised input can work, but results become much less predictable.
The reference video has no readable motion
The reference video is the instruction for the movement. The model reads poses frame by frame, so a clip that is hard for a human to read is hard for the model to follow:
- Two or more performers, overlapping limbs, or someone walking through the shot.
- A moving camera that adds its own motion on top of the body's motion.
- Fast movement and low light, which produce motion blur exactly where the arms, hands, and feet need to be read.
- Cropped hands or feet, when the action is mostly hands or legs.
- A very short clip that contains no complete movement.
The upload never finished
Uploads go directly from your browser to storage, and a generation only starts once both files arrive. On a slow connection, a large video can take minutes, and an interrupted upload means there is nothing for the generator to run — the task never exists.
If the progress bar stops, retry the upload. Shorter clips help here too: a 5-second reference video uploads several times faster than a 40-second one, and the shorter clip is also the higher-quality path (see the next section).
| Limit | Photo | Reference video |
|---|---|---|
| Formats | JPG, PNG, WebP | MP4, MOV |
| Maximum size | 20 MB | 50 MB |
| Maximum length | — | 15 seconds free, 60 seconds with credits |
Why the Video Looks Wrong Even When It Works
What the model actually does
It helps to know there are three separate steps, because most distortions come from one of them:
- Read the motion. Pose estimation scans the reference video and records the position of the body joints in every frame.
- Apply the motion. Those poses are retargeted onto the person in your photo, adjusting for a different body shape and camera angle.
- Render the frames. Each frame is generated, using your photo as the reference for identity, skin, and clothing.
Two consequences follow from this. First, the movement comes from the video while the appearance comes from the photo — so a sharp video and a blurry photo produce a blurry result, and vice versa. Second, anything the model cannot see, it has to invent, and the invention becomes less convincing the longer it has to continue.
The five artifacts and what causes them
| What you see | Why it happens | What fixes it |
|---|---|---|
| Warped or melting hands | Hands are hidden, holding an object, small in frame, or moving very fast | Empty, visible hands; a slightly wider shot; slower gesture |
| The face drifts | The face is small or turned in the photo, or a filter replaced its texture | A closer, front-facing photo with visible skin detail |
| Flicker and jitter | Shaky camera, low light, or motion blur in the reference clip | A stable camera and brighter light |
| Wrong body proportions | The photo and the reference disagree, such as a face-only selfie with a full-body dance | Match the framing of the two files |
| Soft or mushy detail | Frames, resolution, and motion complexity are competing for the same budget | Shorten the clip, or choose a lower resolution first |
Resolution, length, and motion share one budget
A clip is a sequence of frames: a 15-second clip at 24 frames per second is 360 frames, and a 60-second clip is four times that. Every frame has to be computed from the previous one while staying consistent with the photo, so the work grows quickly with length.
Longer clip, higher resolution, and complex motion all compete for the same capacity. When you raise all three at once, the model has less headroom per frame, and the result is softer detail and more drift over time.
The practical version of this advice is simple: start short and simple, and only raise one variable at a time. A 5-second clip at a higher resolution usually looks better than a 60-second clip at the same setting, even though it contains less.
What to Upload
These are the input choices that change results most often. If you only fix three things, fix the first three.
The photo (this is the identity source)
- One person, face clearly visible and large enough to see skin detail.
- Facing the camera, or a gentle three-quarter angle. Eyes and mouth visible.
- Hands empty and inside the frame — holding a phone, bag, cup, or pet distorts the arms badly.
- Even, natural lighting. Avoid strong colour casts, harsh shadow on one side of the face, and backlighting.
- A simple background. Busy backgrounds are not the main risk, but they add visual noise.
- Framing that matches the movement: full body for dance, head-to-waist for gestures and talking.
- Avoid: group photos, sunglasses and masks, mirror selfies where the phone covers the body, screenshots of screenshots, and photos processed by heavy beauty filters.
The reference video (this is the motion source)
- One performer, whole body inside the frame.
- 3–10 seconds for the first attempt. Short is not a compromise; it is the option most likely to look good.
- A stable camera. The subject can move, but the camera should not.
- Bright, even light and no motion blur.
- Empty hands, and no props that hide the body.
- An action a human can read at a glance: one clear movement, not a sequence of five.
Pair the framing
| Photo | Reference video | Difficulty |
|---|---|---|
| Full body, standing | Standing dance | Easier |
| Head-to-waist portrait | Upper-body gesture | Easier |
| Face-only selfie | Full-body dance | Harder |
| Seated portrait | Running or jumping | Harder |
| Hands hidden or occupied | Hand-heavy gesture | Harder |
A Better First Attempt
- Choose a photo with one visible person, a clear face, and empty hands.
- Choose a 3–10 second reference clip with one performer and a steady camera.
- Generate, and watch the result with the artifact table above open.
- If something is wrong, change one thing and regenerate — not all four.
Changing one variable at a time is slower on paper, but it is the only way to learn which input your result depends on.
If Your Task Failed
- Read the message on the task page. Common failures are shown in plain language, and the credit is already back in your balance.
- If the failure was a queue or timeout problem, the same inputs may work later — nothing about your files caused it.
- If the failure mentions the photo and video combination, work through the checklists above before regenerating.
- Only re-upload when your input files actually changed. Re-uploading identical files with identical settings produces identical results.
What Is Handled For You
- A failed task returns its credit automatically — there is nothing to claim.
- A task that cannot find a free GPU slot is retried automatically for up to 45 minutes.
- Your uploaded source files are used to run the generation and deleted after 7 days.
- Finished videos stay in your task history, so you can find and download them later. Download the ones you want to keep; task history is a convenience, not permanent storage.
FAQ
Why did my AI video generation fail?
Most failures fall into three groups: the shared GPU queue was full and the task could not run in time, the model could not read a face or body in the photo, or the reference video contained no readable motion. The first group is a capacity problem on our side; the other two are usually fixed by a clearer photo or a shorter, steadier reference clip.
Do I lose a credit when a generation fails?
No. A failed task returns the credit it consumed back to your balance automatically, so you can try again without paying twice for the same idea.
Why do hands look distorted in AI videos?
Hands are small, fast, and easy to hide, and pose estimation has the least information about them. Distortion gets worse when hands are holding something, when they are outside the frame, when the gesture is very fast, and when the subject is far from the camera. Empty, visible hands and a slower gesture are the two changes that help most.
What is the best photo for AI motion transfer?
One person, facing the camera, with a clear face and a visible body. Use natural light, keep the hands empty and in frame, and match the framing to the movement you want — a full-body photo for dancing, a head-to-waist portrait for gestures. Group photos, sunglasses, heavy filters, and photos where the phone covers the body all reduce the model's ability to keep the result consistent.
How long should my reference video be?
For a first attempt, 3–10 seconds with one clear movement. The maximum is 15 seconds on free generations and 60 seconds with credits, but a longer clip is not automatically better: the work grows with the number of frames, so longer clips drift more and need more time.
Can I improve a video after it has been generated?
Not by re-running the same files. Generation is deterministic about its inputs: the same photo, the same reference video, and the same settings produce the same result. Change one input — a clearer photo, a steadier reference, a shorter clip — and generate again.
Why was my task refunded but still marked as failed?
A refund and a successful generation are separate outcomes. The credit is returned because the work did not produce a usable video; the task still shows as failed so your history stays accurate. Check the error message, adjust one input, and try again.
Start With a Cleaner First Attempt
If you have a clear portrait and a short, steady reference clip, you already have everything the generator needs: create a motion video with Animaker Dev.
For the reference video side of the checklist in more depth, read 7 reference action video tips for AI motion transfer. If you are new to the whole workflow, start with the photo dance beginner tutorial.
関連記事
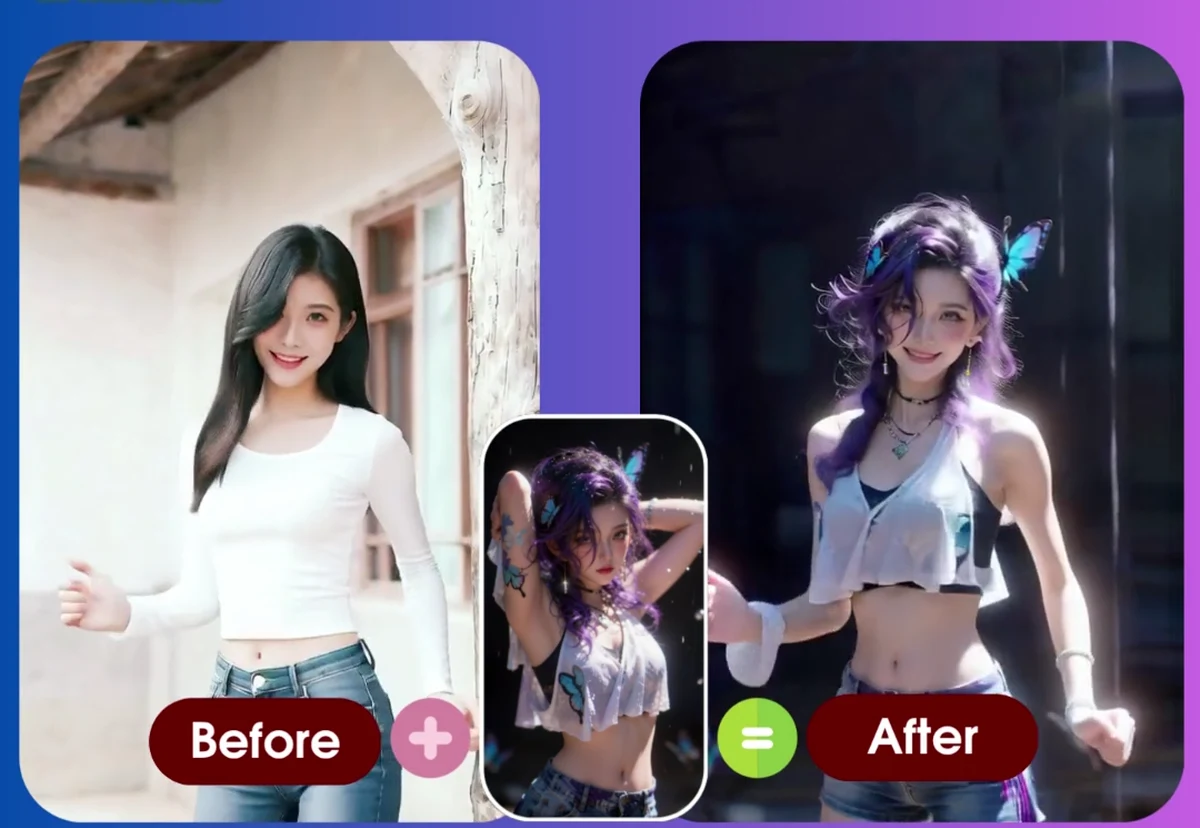
7 Reference Action Video Tips for Better AI Motion Transfer
Learn how to shoot or choose better reference action videos for AI motion transfer, avoid failed generations, and improve photo-to-video results.
Animaker Dev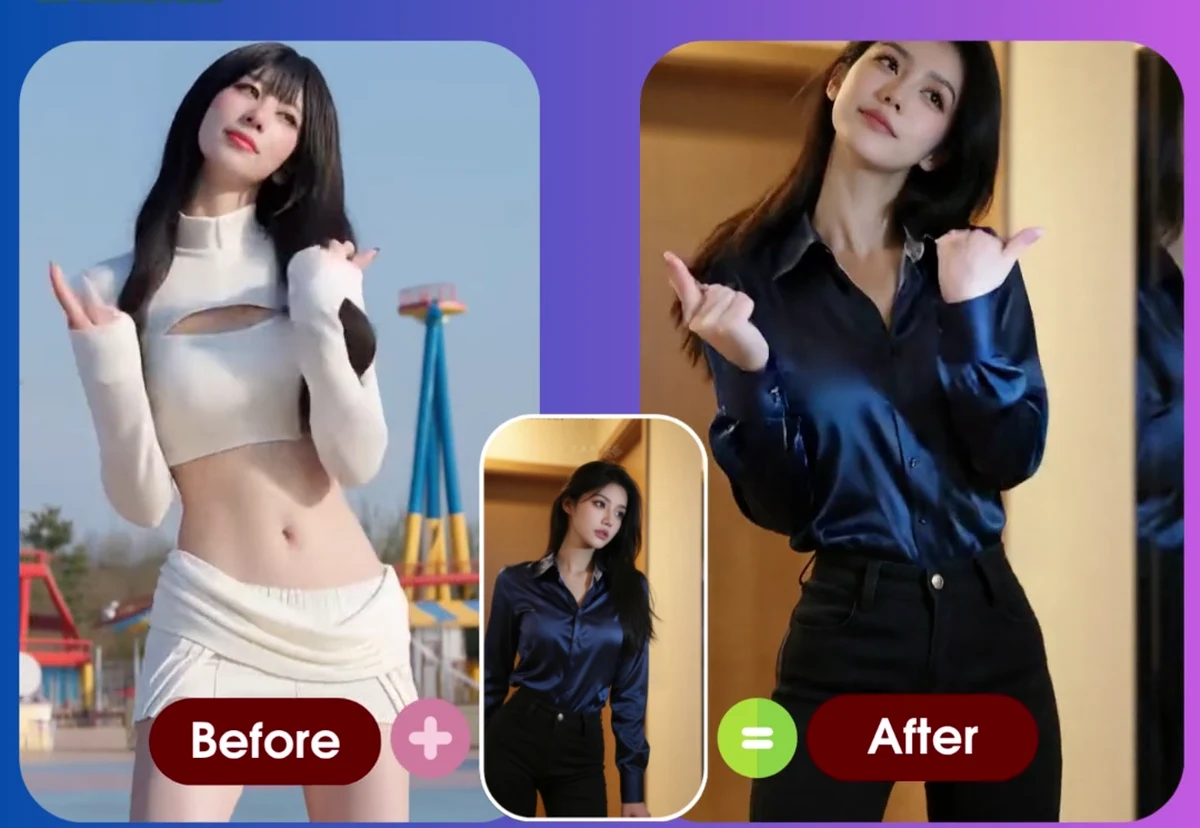
How to Recreate Any Video’s Motion with Your Own Photo (2026)
Turn a photo into a video that performs the exact motion from any reference clip. Two approaches, what inputs actually work, and the failure modes to avoid.
Animaker Dev Team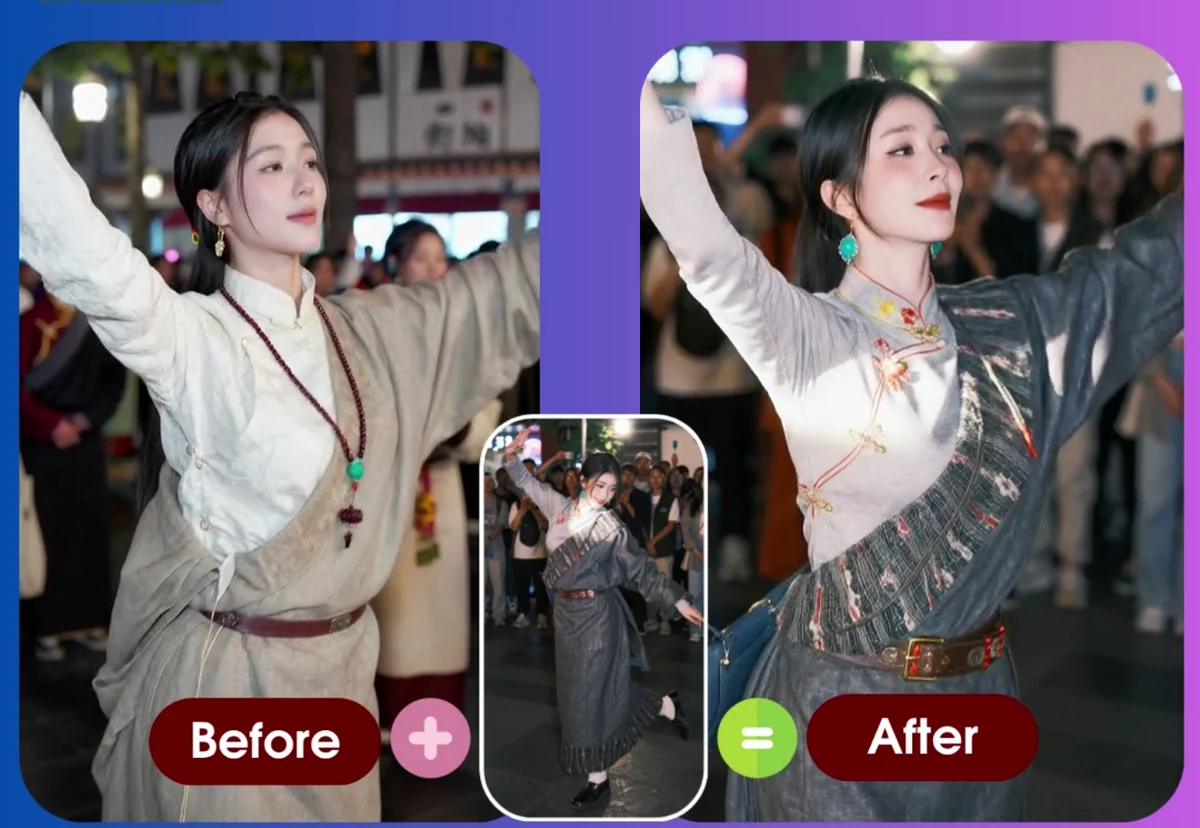
Best AI Dance Video Generators in 2026: 8 Tools Compared
A side-by-side comparison of the leading AI dance video generators — pricing model, free tier, watermark policy, reference-video support, and who each tool is actually for.
Animaker Dev Team